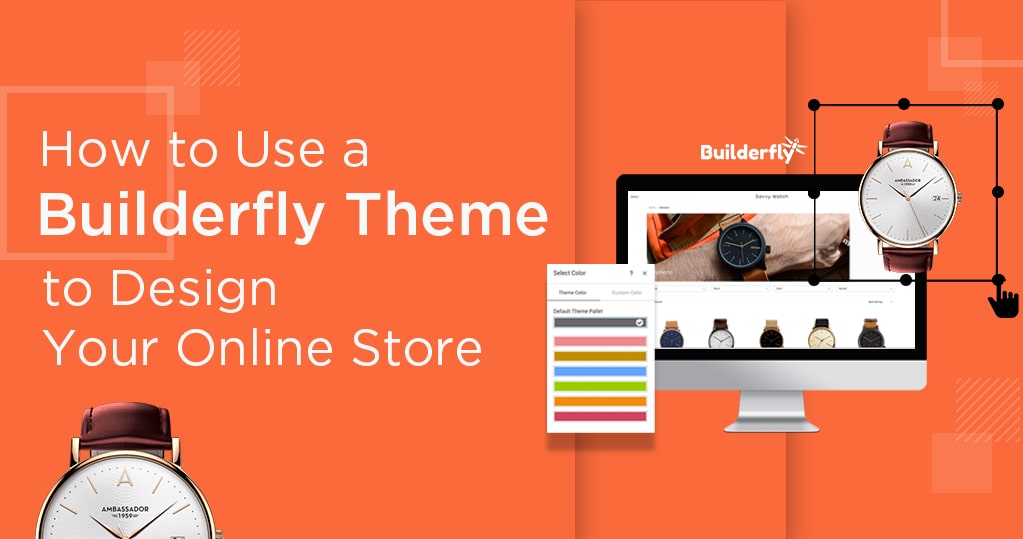
Starting an online store is a great way to expand the market for your current physical store or simply launch a business without the high cost of a brick and mortar store. What’s more, it’s not as hard as it once was. Rather than hiring a developer to program a custom platform for you, you can choose from dozens of available top ecommerce platforms and get your store up and running in a matter of hours.
While there are plenty of ecommerce platforms to choose from, one of the most popular ones is Builderfly. In this post, we’ll show you how to set up a store using a premade Builderfly theme.
Builderfly Themes
A great feature of Builderfly is the sheer number of Builderfly themes that are available. They’re also easy to customize and most of them even allow you to import demo content with a single click so all you’ve got to do is replace it with your content, rather than including that segment from scratch.
How to Install a Builderfly Theme
Now let’s cover how to choose and install a theme for your store.
Choose a Theme For Your Store
If you head over to Builderfly Store > Themes > Buy More Themes you’ll notice that Builderfly offers its themes that you can install. While they all boast appealing and responsive designs, the number of Builderfly themes is rather limited.
Choosing a Builderfly theme isn’t an easy task. However, there are a few things to keep in mind when choosing a theme that will help you make the decision process easier:
- Attractive design. The theme you choose should look appealing as well as be appropriate for the type of products you sell and the intended audience. If you can’t find a theme specifically for your niche, consider using a multi-purpose theme that’s suitable for a variety of products.
- Regular updates and support. Make sure you pick a theme that’s well-supported and comes with regular updates. Doing so allows you to contact the support team should you ever need help as well as ensure that your theme is compatible with Builderfly updates.
- Features. Don’t ignore features about themes. Choosing for a theme that has built-in widgets, the ability to display items on sale or utilize a mega menu decreases the chances of missing out on functionality that can help increase your conversion rates.
- Responsive design and fast loading time. With an increase in mobile usage and shopping trends, it’s crucial that your theme is not only responsive but also loads quickly so you don’t lose customers who are visiting your store on a mobile device.
Once you’ve found a theme you like, all you’ve got to do is to click on the “Preview” button to see how it will look at your store. Once you find out that it’s perfect for your online store, then you can simply go ahead and implement it.
Customize Your Builderfly Store
With your theme installed, it’s time to customize your store’s appearance. For this tutorial, we’re using the Urban Angel theme, which is a responsive multi-purpose theme. The Urban Angel theme accompanies various useful features such as a beautiful full-width slider, wishlist support, newsletter integration, mega menu, and the sky is the limit from there.
Discover more great Builderfly ecommerce themes
Step 1. Go to the Customize Screen
To customize the theme, click the Customize Store button. You’ll be redirected to a screen that allows you to see the changes in real-time and you can style several settings. In the Urban Angel theme, you can upload a custom logo, fonts, set a custom welcome message, change the colors, etc. You can likewise enable certain features such as a mega menu, wishlist, and set up your newsletter integration as well as choose which products are appeared in the featured tabs on the front page. Finally, you can also customize the checkout page by uploading a custom background image and logo.
Step 2. Import Demo Products
If you want to speed up the process of setting up your products, you can import the demo content. Or, you can use Builderfly’s template to insert and import your products. To import them, go to Catalog > Products Export/Import and then click the Import section. Keep in mind that you can close the import popup and Builderfly will notify you via email when the import is done. While you wait, you can tweak other settings in your store.
Step 3. Customize Store’s Settings
If you click on the Manage store link on the Dashboard, you’ll have the option to change different store options. As you can see from the screenshot below, you can adjust your store’s details, choose your payment method, set your shipping rates, and add additional sale channels such as Amazon, Facebook, Flipkart, and Google shopping.
This area is also used to set up your store’s notifications, modify your tax rates, and invite additional users to your account.
Start Your Store With Builderfly
With a platform like Builderfly, starting an online store is a lot easier than it used to be. Aside from ease of use, Builderfly offers many benefits for online store owners who want to focus on running their business rather than spend time tweaking and maintaining their ecommerce platform.
And with a large selection of beautiful themes, it’s easier than ever to make your online store look good. Now that you know how to set up a Builderfly store, browse our collection of responsive Builderfly themes and use one of them to start your online store with Builderfly today.


