


A Brief on Builderfly
Opening an online store can be a daunting task, especially if you don’t know about the ABC of ecommerce and you are just starting. For such users, Builderfly comes to rescue.
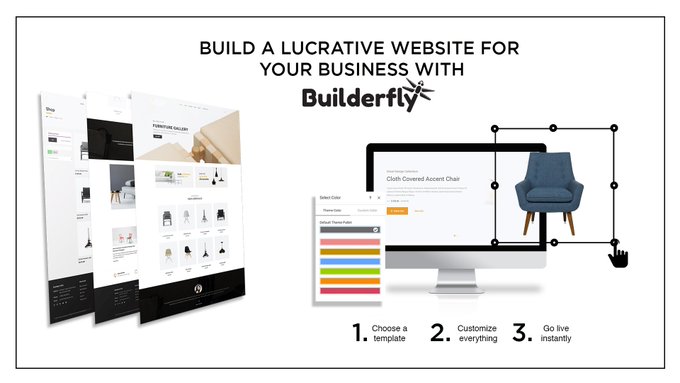
What is Builderfly? Builderfly is SaaS based ecommerce platform where you don’t need to worry about the development of your store and its deployment. All-in-one platform that comes with AI-driven native ecommerce app builder along with DO-IT-YOURSELF Design Editor for creating a beautiful website.
Following is the complete guide to giving you more information about the Builderfly store setup.
Why Choose Builderfly
For ecommerce businesses, the online store has to be accessible, captivating, and feature-rich. Builderfly provides all of them with a presentable format to sell your products. Builderfly is built to keep your tech worries off, so you can concentrate on your business.
Few reasons why recommended for Builderfly are –
- Financial Feasible – If you are a small business or a startup, finances could be a great hurdle in business operations. Builderfly comes with a very pocket-friendly budget with starting from the plan as low as $35 per month.
- Easy to set up and use – Builderfly offers a quick and easy way to start your ecommerce business where your store is pre-built and you don’t have to worry about development and deployment. The admin interface of Builderfly is well structured and easy to use from product uploads to order management all in a matter of clicks.
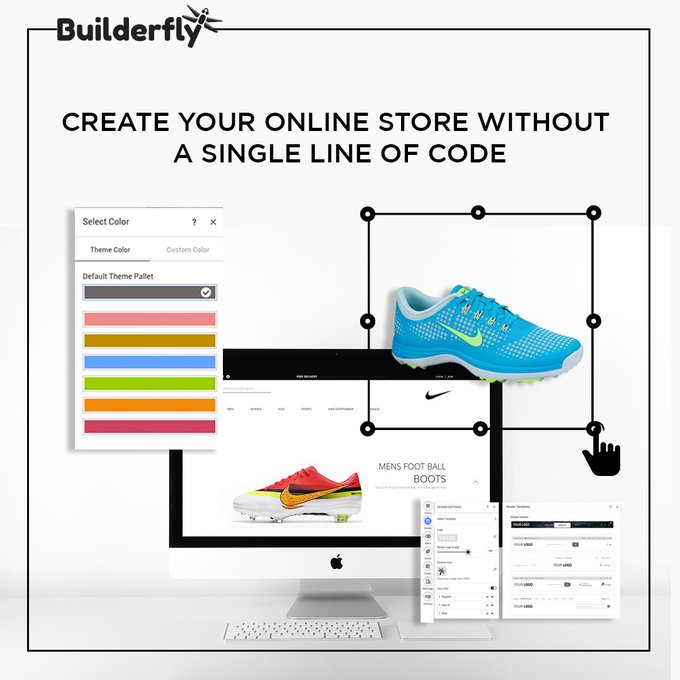
- No Tech worries – Builderfly is favorite amidst non-tech users. A user will feel he is running an ecommerce business and not a tech site. There are regular software updates that get synced automatically, plus Builderfly takes care of your hosting and servers. You don’t need to be a Builderfly Developer to start your online store.
- Secure & Reliable Ecosystem – While running an ecommerce store you got to have a secure back end because you are going to deal with sensitive credit card information. Builderfly maintains security on its servers, and also works on its scalability.
- Customer Support – Builderfly provides 24/7 support which means your business will never stop due to glitches. Builderfly support is available over phone, email, and chat. It has lots of documentation, resources, and forums to find solutions for your problems.
- Mobile Compatible – Builderfly understands that today half of the ecommerce business is done on mobile. Builderfly themes are mobile responsive, so you don’t lose the mobile shoppers.
- Customizable Themes – All Builderfly themes are not only mobile responsive but also customizable. Building a unique brand identity begins with a unique store design. Builderfly lets you tweak the back end of themes to create an attractive and presentable front end.
- Marketing Tools – For standalone online stores, the major struggle is traffic and visibility. Well, Builderfly takes care of that with SEO features that help you rank higher in search results organically and garner more traffic. It also has Builderfly Kit to cover your marketing strategy. You can also set discount coupons from the Builderfly store.
- Abandoned cart recovery – If a customer adds an item to the cart, but doesn’t complete the checkout process, the process is termed as an abandoned cart. As per the study, 68% of customers will leave an abandoned cart while ecommerce shopping. Such high rates demand an action. Well, Builderfly tracks and reminds customers through an email to complete their purchase.
- Payment Gateway – Checkout process is complete when customers pay for your item. But if they don’t get access to their favorite payment option the chances are they are going to abort it. To tackle this, Builderfly has partnered and enabled dozen of payment gateways on their platform, so that your customers find their right pick.
Step By Step Guide to Create New Builderfly Store
The next big question comes is how to set up a Builderfly Store. This is Builderfly for beginners guide.
Step 1 – Registration
Start by registering on Builderfly and creating your brand new Builderfly Store. If you already have a Builderfly Store then proceed directly.
Step 2 – Login
Login to your Builderfly Store – Once you have the login credentials then you can use it to make changes in your store.
Step 3 – Configure Builderfly settings
(Navigation) Dashboard -> Manage store
Manage store -> store setup > General: From here you can change or update your store
- Store Details (Store Name, Account email for correspondence from Builderfly, Customer email that your customers will see if you mail them)
- Store Address (Legal Name of the business, Phone Number, Street Address)
- Standards and Formats (Timezone, editing of Order ID format)
- Store Currency
Manage store -> store setup > Payment: From here you can configure how to accept payments, you can do the following from this page
- Set up Builderfly Payments
- Activate merchant location
- Activate a manual payment method
Manage store -> store setup > General > Checkout: From this page, you can make changes in following
- Customer/Guest Accounts (Choose whether the customer must create an account when they checkout)
- Fill out the policies (Refund Policy, Privacy Policy, Terms of Service)settings >Address
- Form Options (Select whether customer checkout form needs any extra information from your customer)settings >my Orders
- Order Processing (Details about checkout process like Shipping address, billing address, fulfillment, scripts on checkout page)Manage store -> store setup > Email set up:
- Email Templates & Configuration (Allow customers sign up for being a subscriber to marketing emails)
Manage store -> store setup > Shipping: From this setting page, you can do the following
- Shipping Origin (Address used to calculate shipping rates)
- Shipping Rates at checkout (You can add shipping zones and corresponding shipping rates that will apply to those regions)
Manage store -> sales > Taxes: From this page, you can configure your tax settings such as
- Change the way taxes are calculated on your store
- Apply tax rates country wise on your store.
- Import/export tax rates
- Get details of customers & products tax classes
Settings -> Sales: From here you can manage your sales channels, or add more of them. Sales Channels helps the merchant to sell online, on mobile apps, through social networks, and in person.
Dashboard -> Account: This page gives you details to manage your Account
- Gives account overview, the status of the account and Builderfly Plan chosen.
- Store status enables you to perform actions on your store such as Hire a Builderfly Expert, Pause your store, and close your Store.Manage store -> store setup > Users & roles
- Accounts and Permissions enable you to manage staff accounts.
Manage store -> store setup > Invoices: This section has settings to the billing of your store such as
- Billing Information, where your invoices get paid using your active payment method. Merchants can also add a credit card to pay their invoices.
- Invoices & Fee is an overview of fees and payouts, including outstanding charges, shipping fees, and Builderfly subscriptions.
Step 4 – Add Products
(Navigation) Storefront > catalog -> Products -> Add product
This is the fourth step in the Builderfly setup checklist. From this section, you can add new products to your store for selling. Click on Add Product Button and give product title and additional information for your product.
You can take the route of two methods to upload your products
- Manually Add Product – By entering all details like Product Title, Product Images, Product Description, price, variants, category, etc.
- Bulk import the products by importing the CSV file.
Step 5 – Assign Products to categories
(Navigation)Storefront > catalog -> Products -> Categories
Once all products are added or created. merchants now have to add these products to particular categories which help in the displaying of products in the front end on top menus.
Adding Products to categories can be done via two routes
- Manual – Add products manually to the collections.
- Automatic – Product gets added to collections automatically when they meet certain criteria, by setting up selecting conditions.
Step 6 – Applying theme on the Builderfly Store

(Navigation) Manage store -> Themes
Builderfly Theme Store removes the hassles of Builderfly Theme Development and enables sellers to get started.
- Merchants can browse from available best free Builderfly themes from Builderfly Theme Store
- Each Builderfly theme comes with a preview and merchants can see & get it.
- Once chosen publish it on Builderfly Store.
Step 7 – Create Blogs
(Navigation)Manage store -> Blog
Merchants can create blog posts and add blog categories like news, ecommerce, etc.
Step 8 – Customize Theme
Dashboard-> Customize themes
We have already chosen the Best free Builderfly Theme, now comes its customization.
- Upload the Store Logo
- Upload slides to a homepage carousel
- Add related item functionality to product pages
- Choose Color Schemes
- Apply Font Choices
Step 9 – Set up your Domain
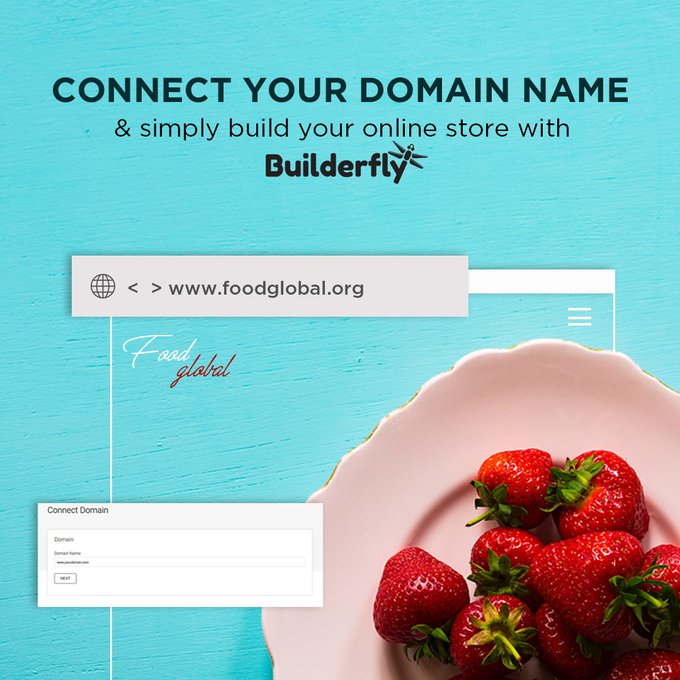
(Navigation)Manage store -> Domains
Merchants can connect an existing domain to give their shop a unique address and identity.
Finally, time to pay for your Store.
(Navigation)Dashboard -> Compare plan
Check Builderfly Plans and activate the most suitable one for your store.
Shipping from Builderfly
You can easily manage shipping from your Builderfly store. Builderfly also enables you to opt for dropshipping. Before you take your first order you need to decide about your shipping. From Shipping page on the back end of the admin panel, you can enter your
- Store’s shipping address
- Choose your shipping zones
- Buy and print shipping labels from Builderfly Shipping
- Set up on-demand delivery for your products using Postmates
To start shipping Builderfly eases the process by enabling you to
- Set up your shipping rates and methods
- Add product weights
- Choose preferred package types
- Print shipping labels
You can additionally plan your shipping strategy by picking
- Free shipping
- Charging exact shipping costs
- Flat rate shipping
On Builderfly your customers won’t see their shipping options until they enter a delivery address. You can also create custom shipping zones and add country wise shipping rates.
Conclusion
Builderfly has huge potential when it comes to accessibility, ease of use, and delivery. As we have discussed why you will love using Builderfly, we can’t assert more that Builderfly has got everything you need to be successfully running an online store.